Enable kernel memory dumps
When it comes to debugging kernel driver crashes, developers use kernel memory dumps for post-mortem analysis. Often, the default settings of a system don’t result in saving a suitable memory dump for driver debugging. “Mini-dumps” and “small kernel dumps” are convenient for some purposes, but they usually don’t have enough info for finding the root cause of a kernel driver problem.
It’s easy to set up your system to get kernel memory dumps (or automatic memory dumps on Windows 10). Just choose your operating system below, and follow the steps shown.
To enable kernel memory dumps:
On Windows 10, several dump file types are available. There’s a good description of the various types on Microsoft’s website. In our experience, a kernel memory dump is always the best kind of dump for driver debugging; and that’s not the default. Here’s how to set that up.
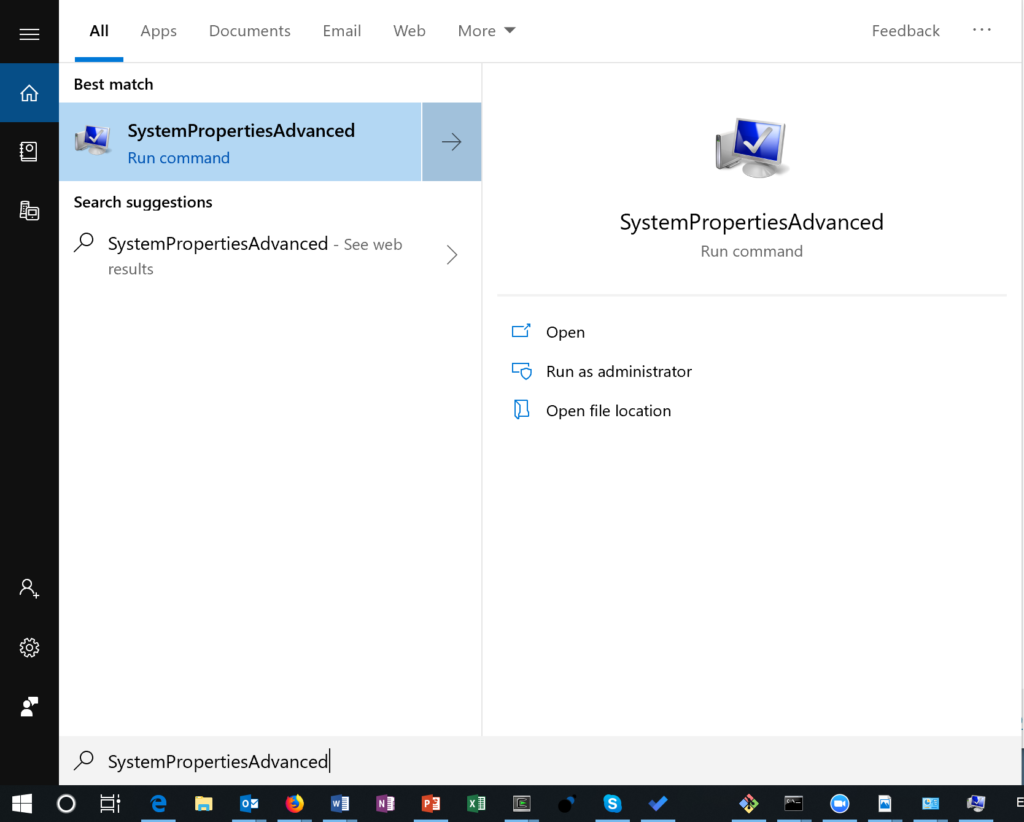
- Press the Windows key.
- Type “SystemPropertiesAdvanced”. (You can use all lower case, too: “systempropertiesadvanced”.) You’ll see this:
- Click on “Run As Administrator.” You’ll see the advanced properties page:
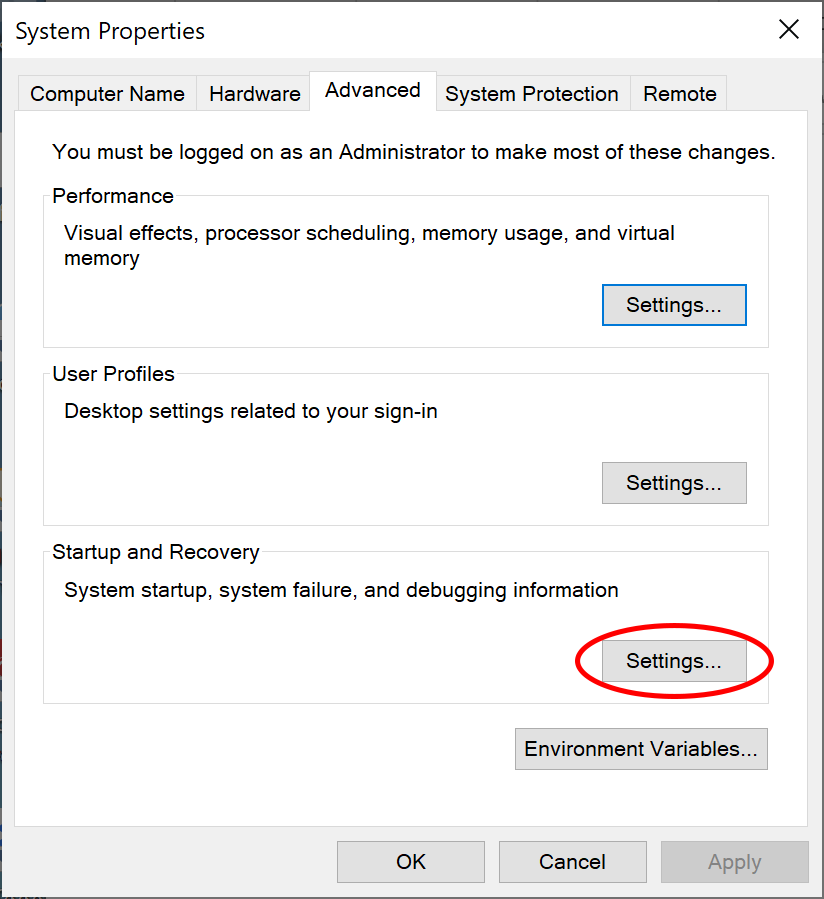
- Click on startup and recovery “Settings…”. You’ll see the following dialog.
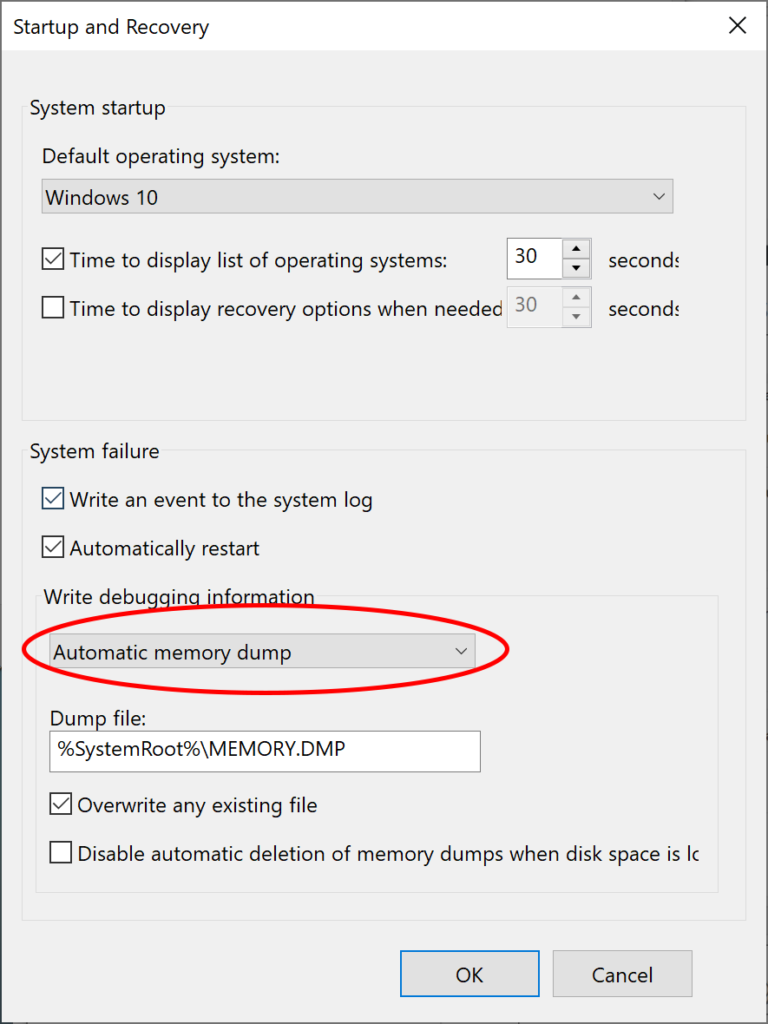
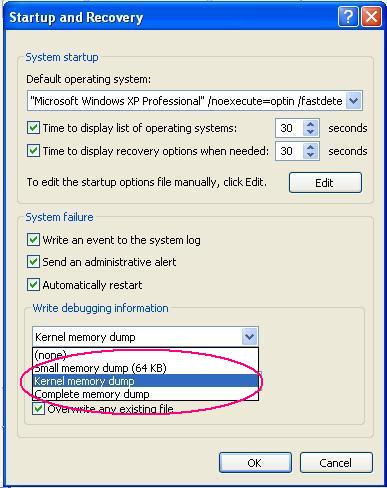
- Expand the drop-down menu under “Write Debugging Information”. It will look like this:
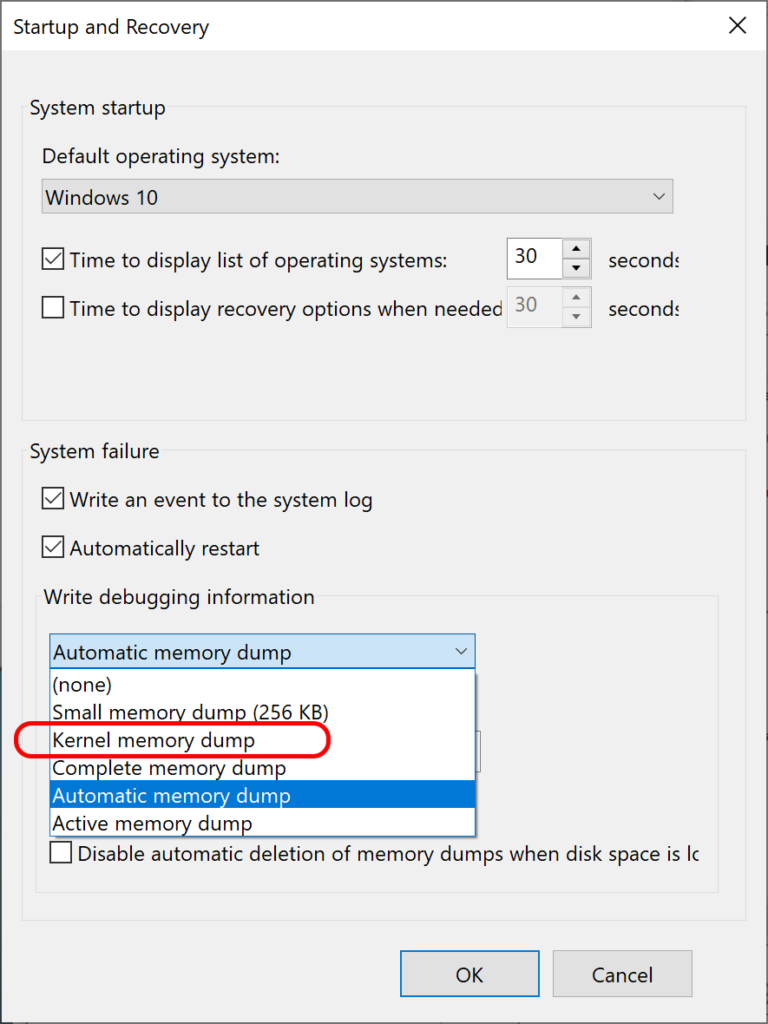
- Select “Kernel memory dump” (circled in the previous picture).
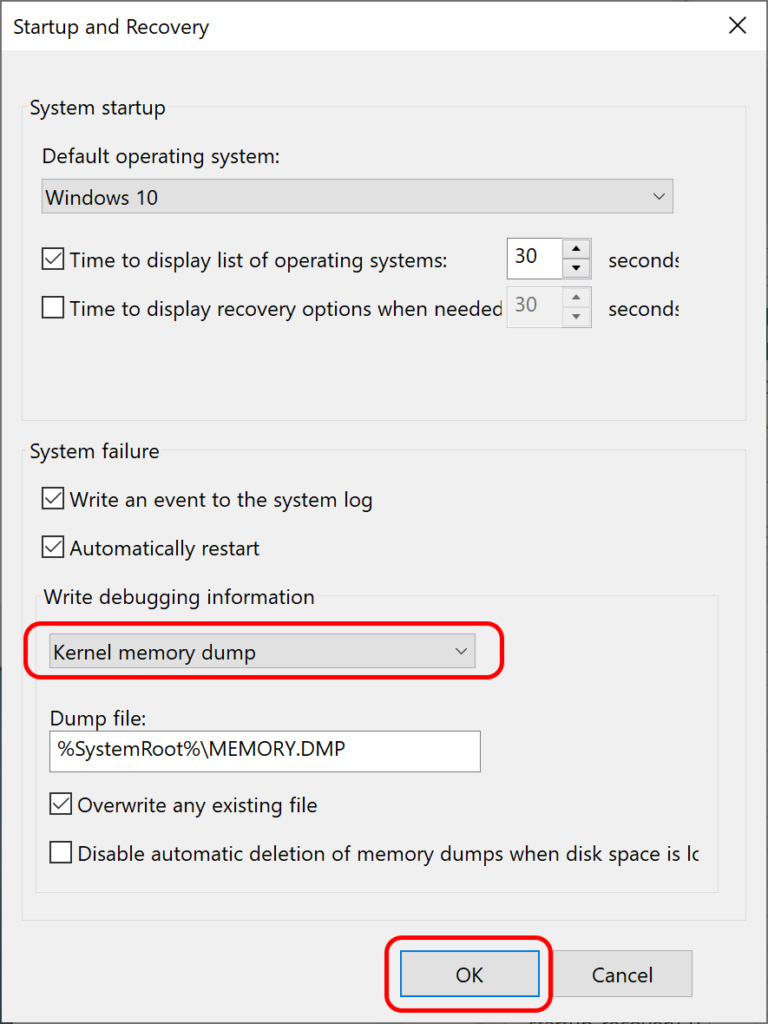
- Select “OK” to close “Startup and Recovery”, and select “OK” again to close “System Properties”.
- Reboot your system.


- Log in as a system administrator.
- Open the System Properties Panel by by pressing and holding the Windows key, then press “Break”
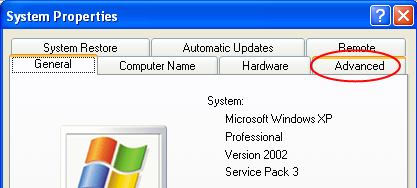
- Select the “Advanced” tab.
- If you’re using Windows XP, you’ll see this:
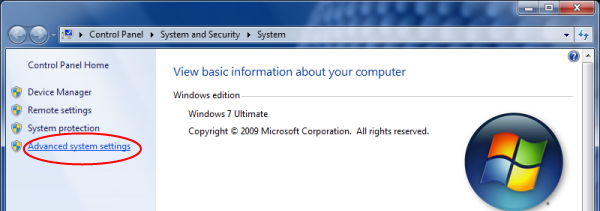
- If you’re using Windows 7, you’ll see this:
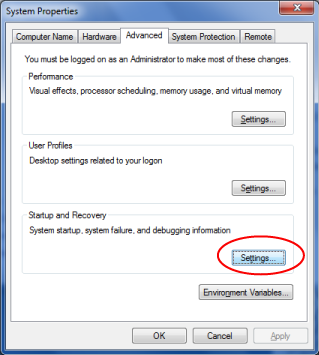
- On the Advanced System Properties page, select the “Settings” button under “Startup and Recovery.” The image below is for Win 7:
- You’ll see the Startup and Recovery page. Change the circled prompt to the setting “Kernel Memory Dump.”
- Click OK.
- If you see the following alert, please note the drive letter (C: in this example) and the size (200M in this example), and follow the procedure on changing the paging file size on that drive.

- Restart the system. After a crash, the dump files will appear in your system root directory.